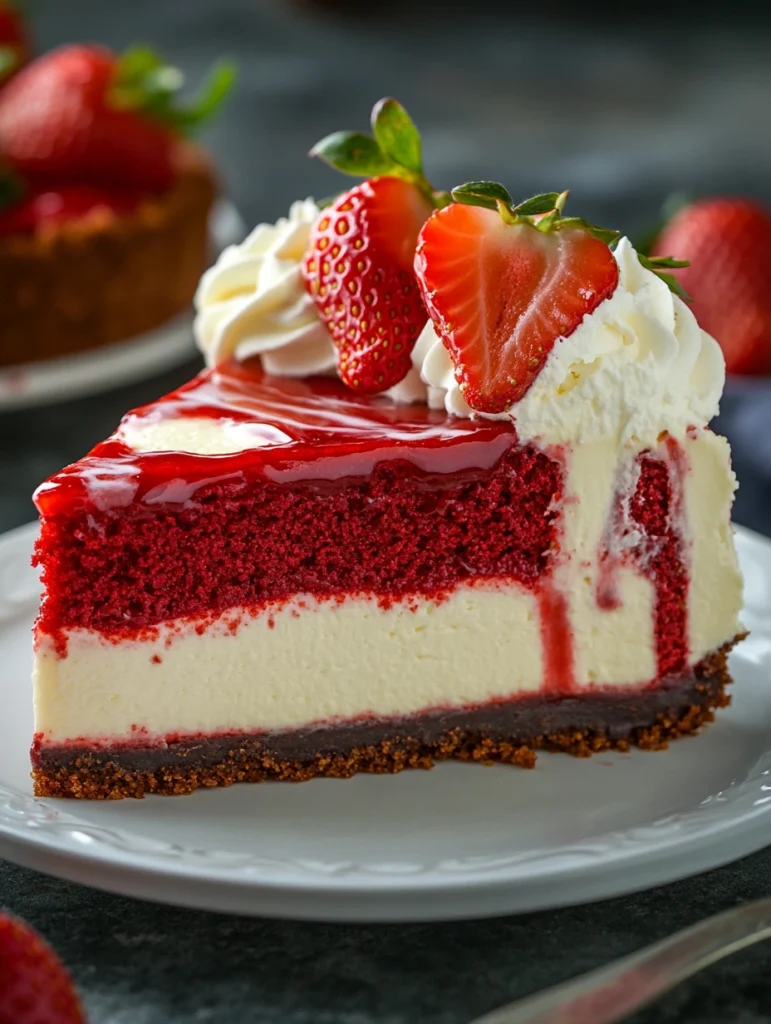
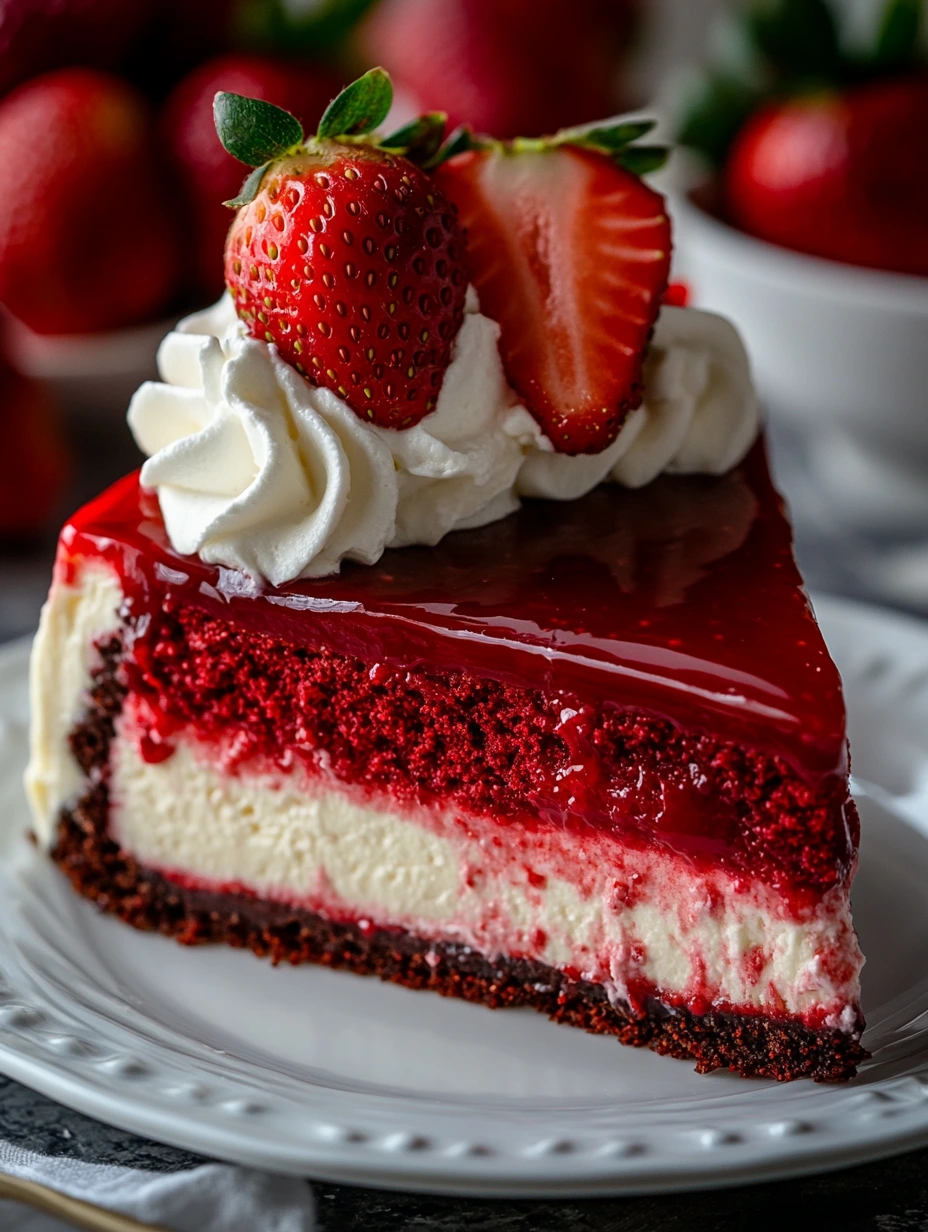
I still remember the first time I made this Ultimate Red Velvet Cheesecake with Strawberry Swirl. It wasn’t just about baking—it was an experience. The oven warmed up the whole house, and as I mixed the ingredients, the scent of rich cocoa and vanilla swirled in the air, promising something magical. As I poured the smooth, velvety batter into the pan and added the strawberry swirl, it felt like creating a masterpiece. The vibrant red of the cake and the bright pink streaks of fresh strawberry just seemed to beckon me, whispering, “You’re about to make something unforgettable.”
The first bite was everything I hoped for and more. The creamy cheesecake melted on my tongue, while the tangy sweetness of the strawberry swirl danced around the smooth, moist red velvet cake base. It was a beautiful balance of flavors and textures, and I was hooked. Since then, it’s become one of my go-to desserts for everything from birthdays to special family dinners.
So, if you’re looking to impress, or simply want to indulge in something that tastes as magical as it sounds, this recipe will make you fall in love with baking all over again. Let’s dive into how you can recreate this masterpiece at home.
Table of Contents
Ingredients List
Creating the Ultimate Red Velvet Cheesecake with Strawberry Swirl is a simple process, but the right ingredients make all the difference. Below is a list of what you’ll need to bring this dessert to life, along with some tips and substitutions to keep in mind.
| Ingredient | Amount | Notes & Tips |
|---|---|---|
| Cream Cheese | 2 packages (8 oz each) | Make sure it’s at room temperature for a smooth, lump-free cheesecake batter. |
| Granulated Sugar | 1 cup | If you prefer a less sweet option, you can reduce the sugar by ¼ cup without losing the creamy texture. |
| Sour Cream | 1 cup | Adds creaminess and a little tang. If you don’t have sour cream, you can substitute with plain Greek yogurt. |
| Eggs | 3 large | Room temperature eggs are best for smooth mixing. |
| Vanilla Extract | 2 teaspoons | For the best flavor, use pure vanilla extract instead of imitation. |
| Red Food Coloring | 2 tablespoons | Use gel food coloring for a more vibrant red without thinning the batter. |
| Flour | 1 ½ cups | If you’re making a gluten-free version, almond flour works great as a substitute. |
| Unsweetened Cocoa Powder | 2 tablespoons | Make sure it’s unsweetened cocoa—this provides the perfect balance to the sweetness in the recipe. |
| Butter (for crust) | 1/2 cup (melted) | Adds a rich flavor to the graham cracker crust. |
| Graham Crackers (for crust) | 1 ½ cups (crumbled) | You can swap for gluten-free graham crackers if needed. |
| Fresh Strawberries | 1 cup | Puree them for the swirl. If strawberries are out of season, frozen ones work just as well—just thaw them before using. |

Step-by-Step Instructions
Alright, now that we have everything ready, let’s get baking! I promise, you’re going to love this.
1. Preheat the Oven & Prepare the Pan
Preheat your oven to 325°F (163°C). Line the bottom of a 9-inch springform pan with parchment paper and grease the sides with butter. This ensures the cheesecake comes out easily once it’s baked.
2. Make the Crust
In a bowl, mix the graham cracker crumbs with the melted butter until well combined. Press this mixture into the bottom of the prepared pan, making sure it’s compact and even. Bake for 10 minutes, then set aside to cool.
3. Prepare the Cheesecake Batter
In a large bowl, beat the cream cheese and sugar together until smooth and creamy. Add the sour cream, eggs, and vanilla extract. Mix until fully incorporated. The batter should be thick and velvety—this is your base.
4. Add the Red Velvet Touch
Now comes the fun part! Stir in the red food coloring and cocoa powder. Be gentle when mixing—aim for a smooth, even color without overworking the batter. It should be a gorgeous, deep red.
5. Strawberry Swirl Magic
Take your fresh strawberry puree (just blend those berries until smooth) and add a few spoonfuls to the cheesecake batter. Swirl gently using a knife or skewer, creating a beautiful marbled effect. Don’t overdo it; you want to see those gorgeous streaks of pink.
6. Bake
Pour the batter into the crust and smooth the top. Bake in the preheated oven for 55-60 minutes, or until the center is set but still has a slight jiggle. The edges should be firm, but the center will continue to set as it cools.
7. Cool and Chill
After baking, turn off the oven and let the cheesecake cool in the oven for 1 hour with the door slightly ajar. Then, transfer it to the fridge and chill for at least 4 hours, or overnight if you have time. The longer it chills, the more the flavors meld together.
8. Serve & Enjoy
Before serving, run a knife around the edges of the cheesecake to loosen it from the sides of the pan. Carefully remove the springform pan, and slice this beauty up! I recommend serving it with extra fresh strawberries or whipped cream for that extra pop of indulgence.
Pro Tips & Chef Secrets
- Avoid Cracks in the Cheesecake
To keep your cheesecake from cracking, make sure it’s not overbaked. If the center is still a bit wobbly when you gently shake the pan, it’s done. Overbaking makes the texture dry and prone to cracking. Also, letting the cheesecake cool gradually in the oven helps avoid sudden temperature changes that could cause cracks. - Use Room Temperature Ingredients
Room temperature cream cheese, eggs, and sour cream mix more evenly, preventing lumps in your batter. Take these ingredients out of the fridge at least 30 minutes before you start baking. - Make Ahead
Cheesecake is actually better the next day! The flavors meld together after sitting overnight in the fridge. If you’re prepping for an event, this dessert is perfect to make in advance. Just store it covered and chilled. - Strawberry Swirl Troubleshooting
If your strawberry swirl doesn’t turn out as defined as you’d like, don’t worry! Just swirl more gently next time. A light touch will create those perfect pink ribbons through the batter.
Serving Suggestions & Pairings
Now, let’s talk presentation and pairing, because every great dish deserves to look as good as it tastes!
- Garnish with Fresh Strawberries
A few fresh strawberry slices on top of each serving adds a beautiful pop of color and a fresh, juicy contrast to the creamy cheesecake. - Whipped Cream or Vanilla Ice Cream
A dollop of freshly whipped cream or a scoop of vanilla ice cream on the side will take this dessert to a whole new level of indulgence. - Pair with a Light Drink
For an extra special touch, pair your cheesecake with a glass of crisp Sauvignon Blanc or a refreshing mint lemonade. The acidity of these drinks balances the richness of the cheesecake perfectly.
FAQs
Can I make this ahead of time?
Yes! Cheesecake actually tastes better after sitting in the fridge overnight. Just be sure to cover it tightly, so it doesn’t absorb any other flavors from the fridge.
Can I use frozen strawberries?
Absolutely! Just make sure to thaw them completely and drain any excess liquid before using them in the swirl. You’ll get the same beautiful result.
How can I make the cheesecake gluten-free?
Swap the graham cracker crust for a gluten-free version, and you’re all set! The cheesecake itself is naturally gluten-free as long as you use a gluten-free crust.
Why is my cheesecake cracking?
If your cheesecake cracks, it’s usually overbaked or cooled too quickly. Always bake at a low temperature, and let the cheesecake cool gradually in the oven before chilling it in the fridge.
Conclusion & Call to Action
I hope you’re as excited to try this Ultimate Red Velvet Cheesecake with Strawberry Swirl as I am to share it with you. Cooking is all about finding joy in the process, so don’t be afraid to make this recipe your own. Try different swirl patterns, or play around with toppings—it’s a dessert that can be personalized in so many ways.
If you try this recipe, I’d love to hear all about it! Leave a comment, share your pictures, or ask any questions you have. Remember, cooking is about experimenting and having fun in the kitchen. I’m sure this cheesecake will be a hit, and I can’t wait to see how you make it your own.

